*safety disclaimer- I am not responsible for any damage or injury caused by doing this!*
This tutorial is for those who have sewing skills... I don't break things down enough for beginners! If you have questions feel free to ask! Enjoy

Cut out your pieces using the pattern or your own pattern

Cut out the pieces for your snaps (or Velcro)

This step can be skipped... serge your pieces


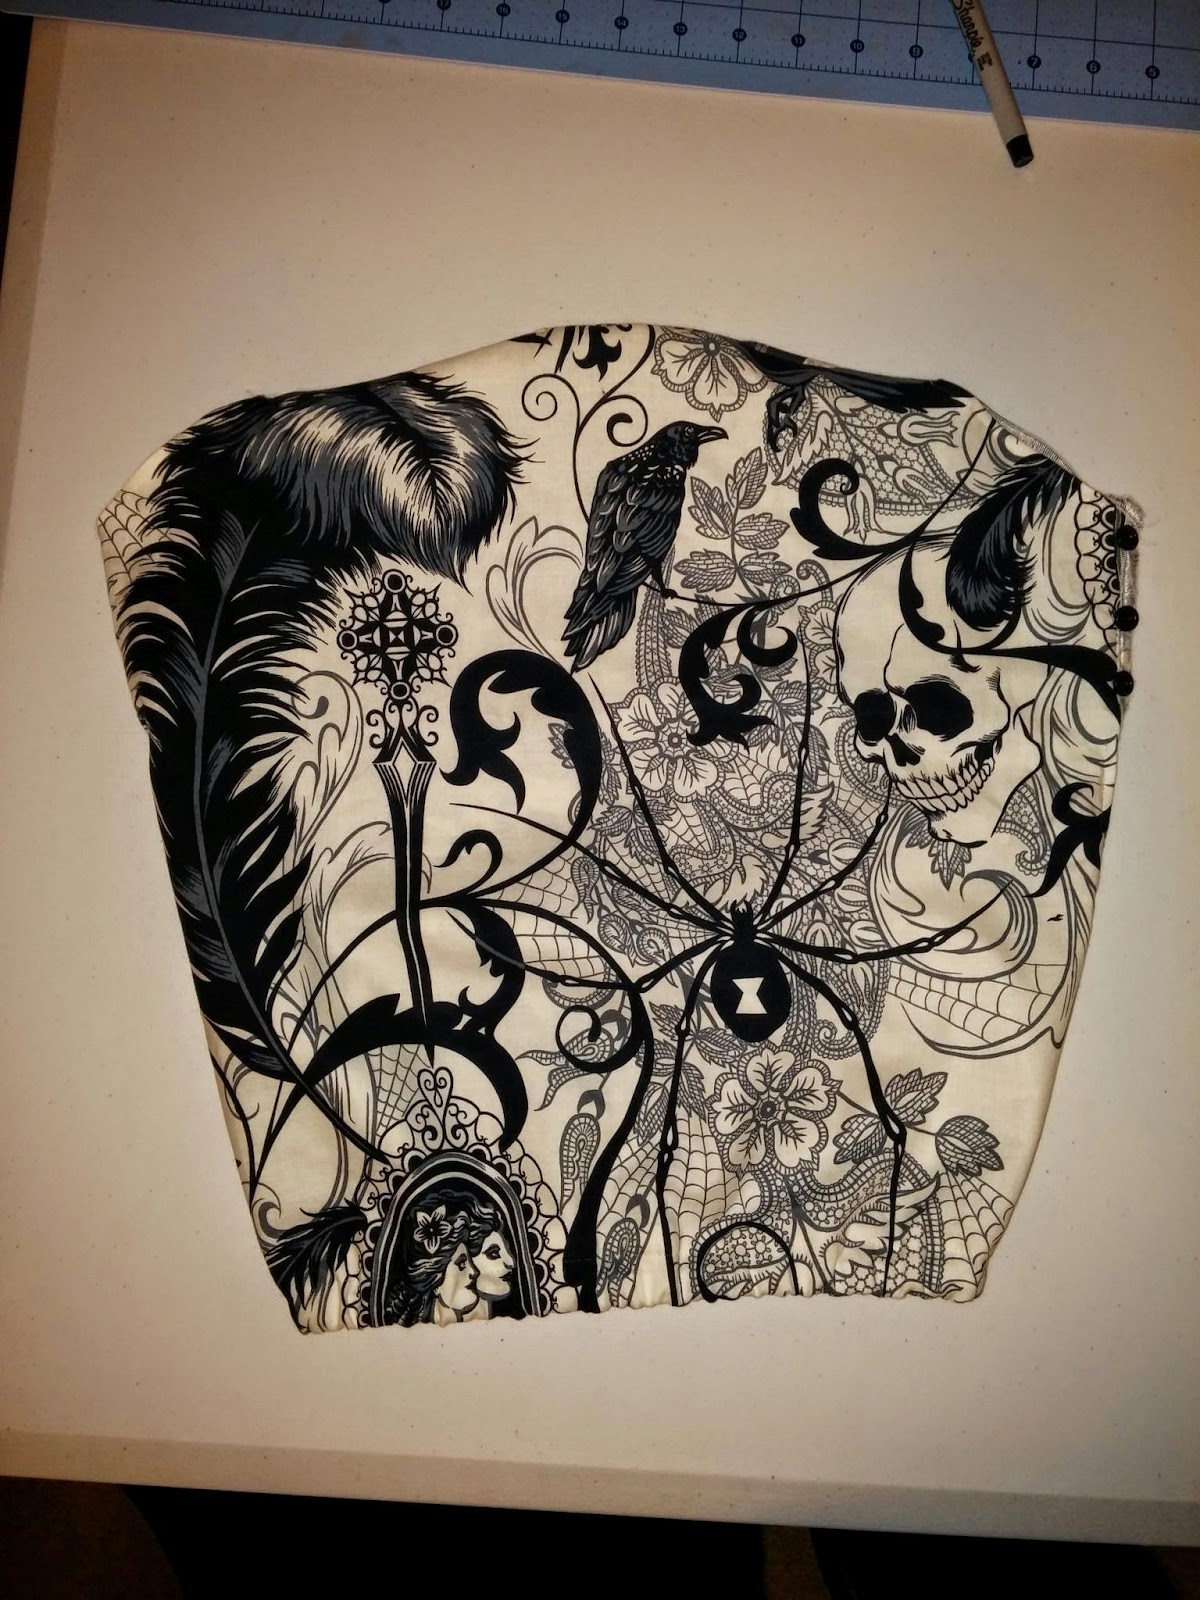
I fudged this step up on my current cover so I'm showing this step from an old one... sew the Velcro\snap section on


Lay the two pieces together (right sides) and sew them together... stopping at the marked area. .. this is left open

I use clear thread to top stitch the pieces that are left open


Make a casing at the bottom for elastic
Insert elastic!
You're done!
Added: pattern & action shots
You will need to print out 2 each... Cut and tape together... I like the way they fit the Tula but you may like a tighter or looser fit... Experiment and find what you like...
To print: click on the picture. Then right click on it and choose to save picture as... then go into my pictures on your computer and print it from there. If you have trouble with it email me at brittniannejohnson@Gmail.com so I can resolve the issue! Enjoy!


Here are my action shots

Don't mind my bathroom shots lol

I really hope you enjoyed this and are sewing up a storm ;)
Brittni


